How to wash YOUR CLIP-IN HAIR EXTENSIONS
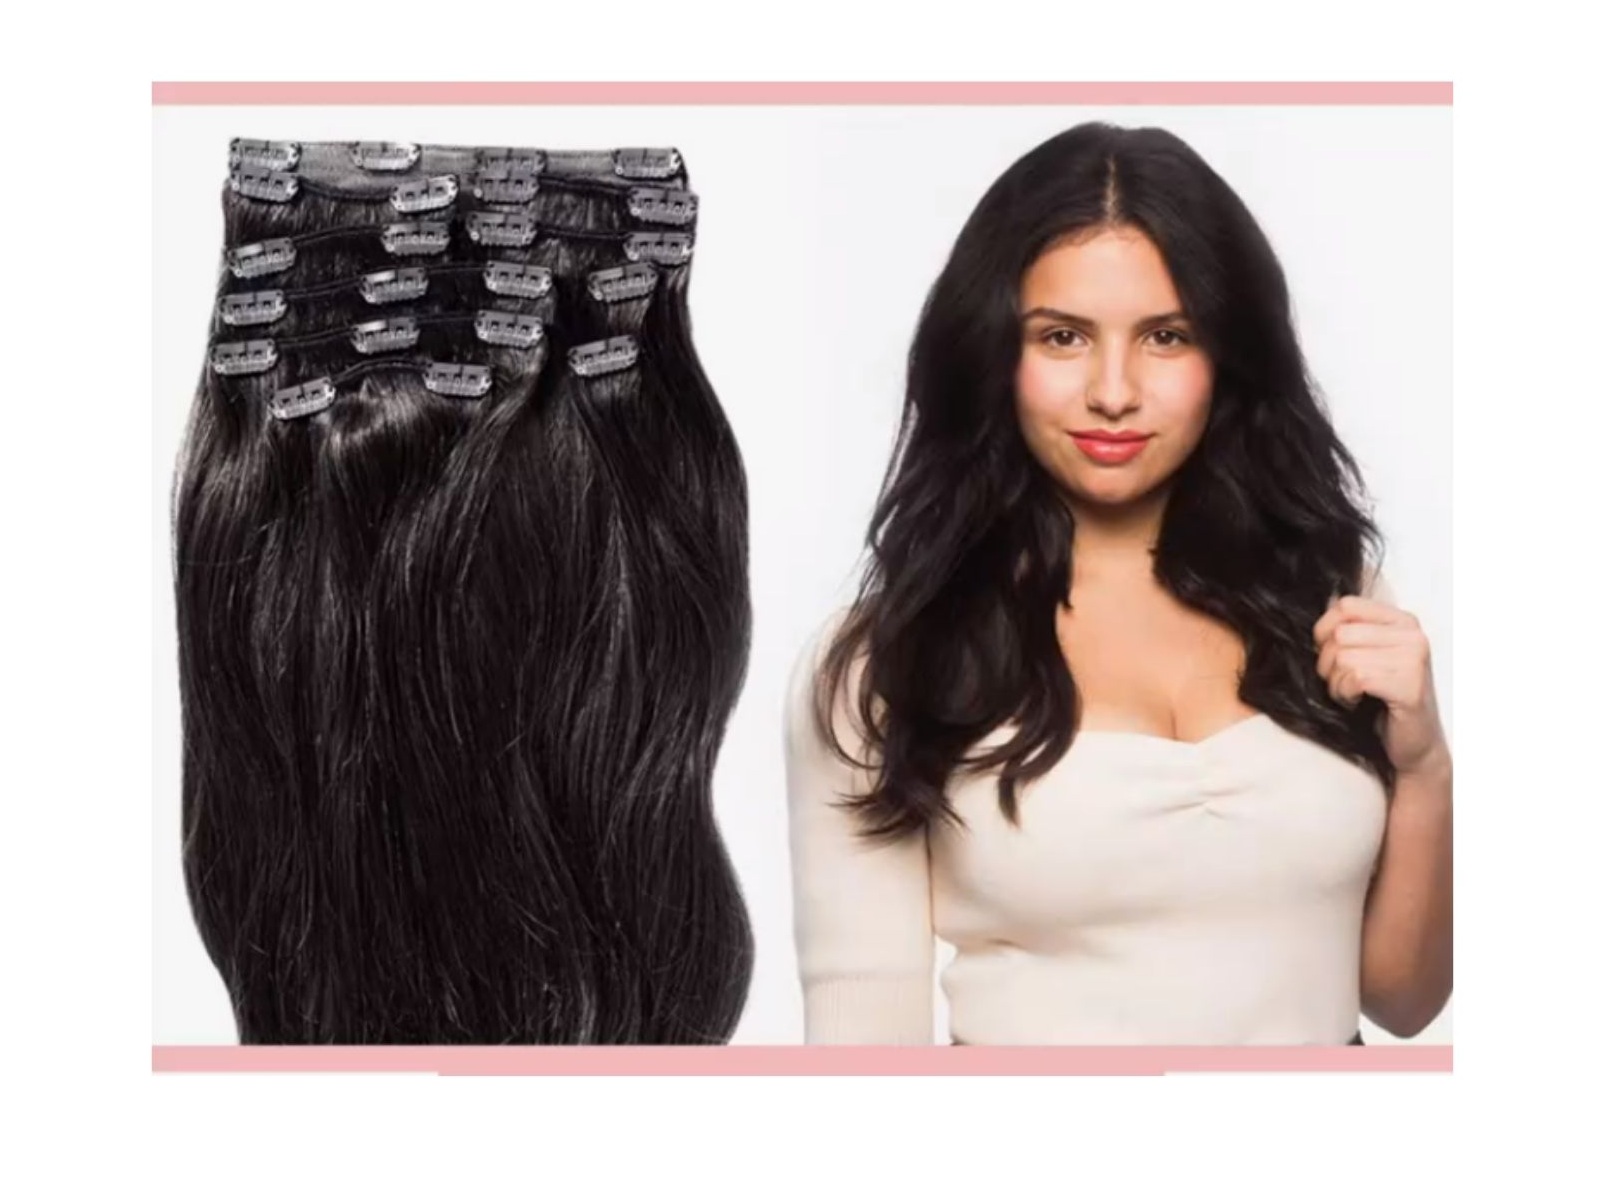
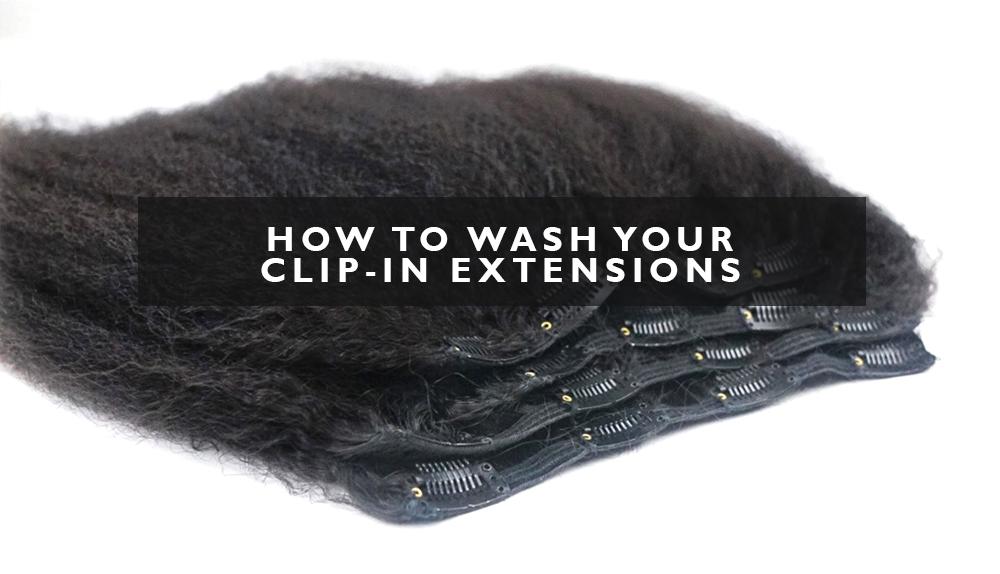 Clip-in hair extensions are one of the easiest and fastest ways to add length, volume, and style to your natural hair. They’re also far gentler to your scalp than tape-in extensions or weaves, because they require no glue, chemicals, or heat. Though they’re generally not considered a good choice to wear while simming or working up a sweat, many of our customers consider it a plus that clip-in extensions are so easy to remove and replace. Whether you like being able to remove them at the end of the day, want to give your roots and scalp a rest, or simply like the ability to change up your style on the regular, clip-in extensions should be in every woman’s bag of tricks.
But caring for them can be a little bit tricky – and caring for them is a must if you want to ensure that they last as long as possible. Did you know that our clip-in extensions can last as long as three to five years with proper care? That’s right – we said years!
Ensuring this longevity for your hair will take a bit of commitment, though, so we recommend incorporating it into any of your self-care practices and making it as luxurious as possible. Why not turn on some music, light some candles, and enjoy washing your gorgeous locks? Below we’ll break the process down into six simple steps.
First: Brush
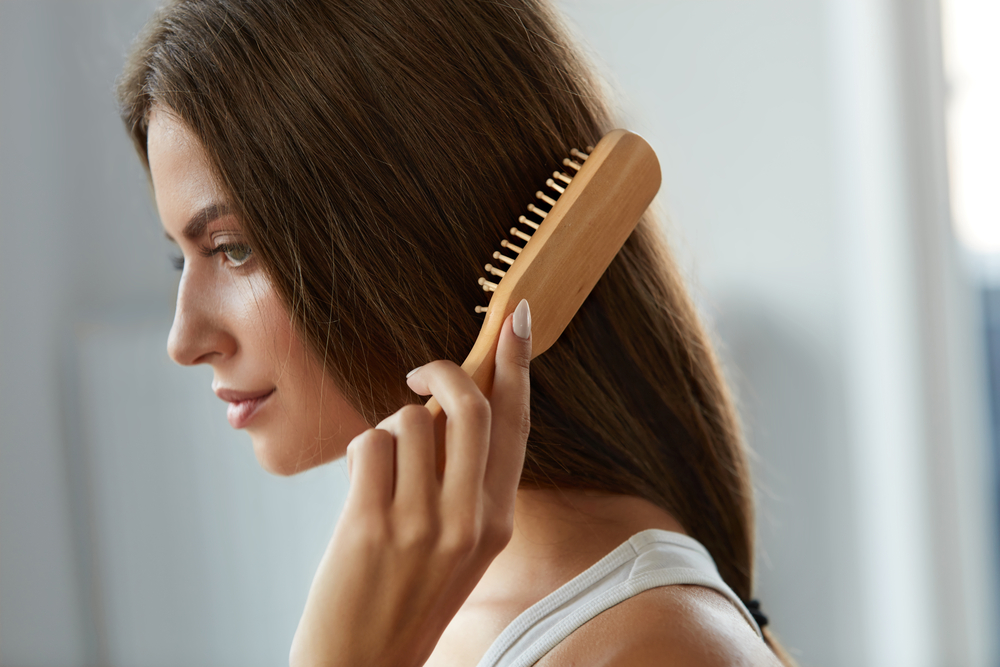
Before you do anything with your extensions, make sure you brush them gently. Whether you’re clipping them in or preparing to wash them, this step always comes first. Why? Doing so minimizes your chances of being left with a large tangle later on. Nipping knots in the bud means you’ll never have to risk harming the texture of your hair or pulling it out of the clip entirely.
To begin, hold a few wefts in one hand – from about one inch down from the cli. With the other hand, work on the ends of the hair with a denman brush, pulling down gently, and repeat, starting a little bit higher up the hair shaft each time until the brush can slide through the entire length of hair with no resistance.
Second: Water Magic
Next, wet the hair entirely. To do this, we recommend holding a weft from the clip under a gently running faucet so that it doesn’t have the opportunity to tangle. Using the other hand, run fingers down the length of the hair, to loosen and rinse off any product or oil buildup.
Third: CoWash
What’s CoWashing? CoWashing is hands down our favorite technique for caring for natural hair. CoWashing stands for conditioner-only washing – meaning that instead of using shampoo, a conditioner is used to wash the hair. Unless you have extremely oily hair (which is rarely the case for anyone with curly or natural hair), conditioner is really all you need to do a thorough washing. After being massaged into the hair and scalp, conditioner helps to loosen dirt, oil, and products from the hair, much like shampoo – only gentler. After that, it’s actually just the act of rinsing the hair with water that carries all of the daily grind down the drain.
CoWashing is simple, too. After wetting the hair, place a generous amount of conditioner into one palm, and using the fingers of the other hand, run it through the hair – in sections if necessary – until every piece is saturated.
If you want to deep-condition your extensions, spread them on a clean surface and let them sit for 15-30 minutes. If you’ve conditioned them recently and simply want a quick wash, you can let the conditioner sit for just two or three minutes.
Fourth: Rinse, rinse baby
Holding one or two wefts at a time, gently rinse the extensions under a light stream of warm – never hot – water. You can use the fingers of your other hand to delicately comb downwards, to help carry the product off the hair. Don’t skimp on this step! If conditioner is not completely rinsed out it will remain on the strands, attracting dirt and making it difficult to produce much volume even after it’s dry.
Fifth: Patience
The next step is easy: let your extensions sit and air dry! To do this, we recommend laying hair out on a microfiber towel, which is delicate on the hair’s texture. Before you lay them down, you can squeeze any excess water using your fingers, but never rub them with a towel. Leaving them to dry overnight is ideal – make sure they are completely dry before handling them again, as hair is more likely to develop tangles when it is wet.
Sixth: Brush and go!
Finally, brush the clip-ins one more time, using the same steps as above. You’ll know you’ve done it right if your extensions are shining and smooth to the touch. Feel free to run a bit of finishing oil through them to ensure that the shine is long-lasting.

